Custom Marker Symbols in ArcMap
ArcMap is shipped with hundreds of symbols in the form of typefaces. You may be happy using the symbols provided by ESRI. If you’d like to create and use your own symbol, one way you can do so is using Adobe Illustrator and ArcMap.
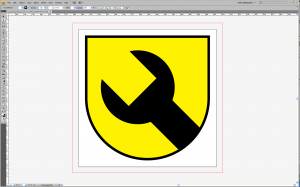
I’m going to start in Illustrator, in these examples I will be using Illustrator CS4. There will be different behavior between versions of the software but the general workflow and procedures will be similar. At the step shown below I have started Illustrator, created an artboard at 200 x 200 pixels. This is somewhat arbitrary because we will be creating vector artwork for ArcMap to use. This means the artwork can be scaled to any size without losing resolution.
Here is the symbol I’ve created in the Illustrator workspace.
Once you are happy with your art, you can export for use in ArcMap. There is one important preparatory step before exporting the symbol, make sure there is no line work outside the symbol itself. The file type, Enhanced Metafile – EMF, in which we export the symbol ignores the artboard in illustrator and includes the envelope of all the artwork present in Illustrator. If there is anything else present you will not be happy with your resulting symbol.
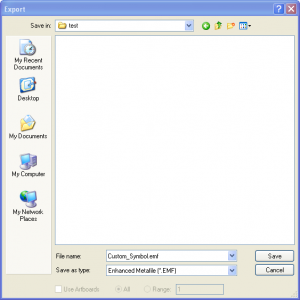
Next step is to export the symbol. We will chose EMF because it is compatible with ArcMap and is easier to create than a truetype font. Go to File>Export. In the window that will pop up change the Save as Type to Enhanced Metafile (*.EMF), name your file, note where you will save the file and hit Save.
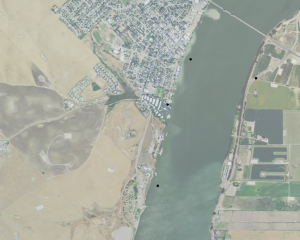
Now to ArcMap. Open ArcMap and add a point feature class. My point feature class is shown here will simple black circle marker symbols.
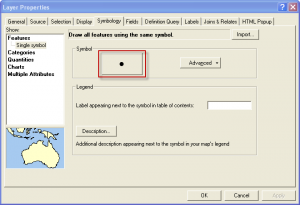
In the table of contents, double click (or right click and choose properties) the layer name of your point feature class. Click the Symbology tab & click on the symbol preview shown.
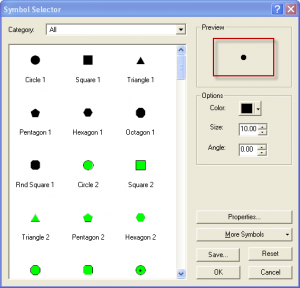
Now in the Symbol Selector window, double click on the preview of the symbol.
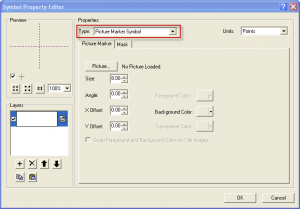
The Symbol Property Editor window will appear. Hit the Type drop down and choose Picture Marker Symbol. A window will pop up to choose the image you would like to use. If this window does not appear, click the Picture button.
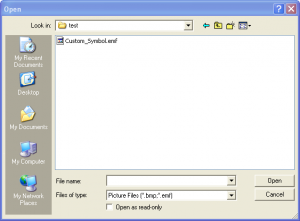
Navigate to the EMF that was made in the previous steps, select it and hit open.
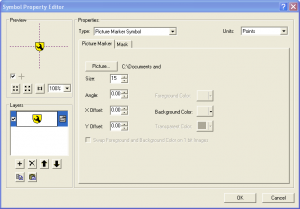
You should now see your custom symbol in the preview pane. You can resize and adjust your symbol in the Symbol Property Editor window. When you are done click OK.
Hit okay a couple more times to return to the map and you should now see your custom symbols on the map.



1 Comment
Langdon
June 4, 2014Thanks again for another tip, using this and your post http://www.bgcarto.com/integrate-symbol-and-label/ for custom street signage symbols.