Integrate Symbol and Label
This technique saves some space and brings a refined look to the symbology in your maps. Integrating a feature’s label into its symbol makes for a professional style that should impress your client.
Begin by building a symbol that will accommodate a label. In this case, I have a single digit number, which is basically best case scenario for designing the symbol.
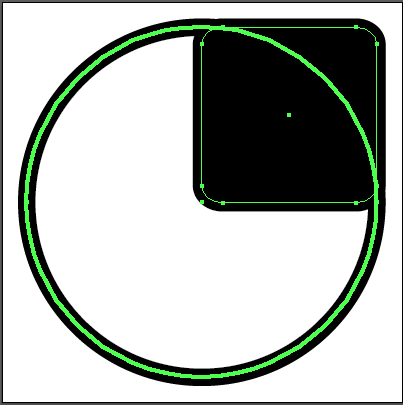
In illustrator, start with a circle with white fill and black stroke, fairly thick because this will be placed over imagery and needs to contrast the aerial.
Now add a rectangle with rounded corners to the top right quadrant of the circle by aligning the rectangle to the circle. This needs to share the same stroke properties as the circle.
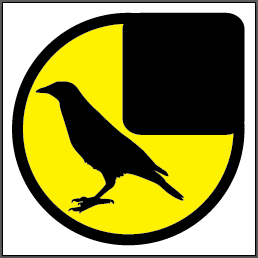
Now I’ll add the symbol art. This silhouette is from the clip art that comes with Neubauwelt, see neubauladen.com. I’ve flipped, resized and rotated the art slightly to fit my symbol. I’ve changed the circle fill color to match a theme color for bird surveys in the mapping this symbol will belong to.
Now, I export the symbol as an emf for use in ArcMap. If you need a refresher on that check out this article, bgcarto.com/custom-marker-symbols/.
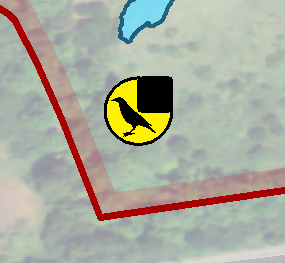
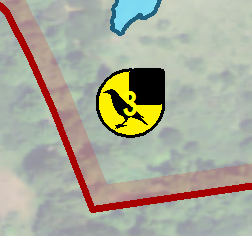
Back in ArcMap I’ve applied the symbol to my bird count points.
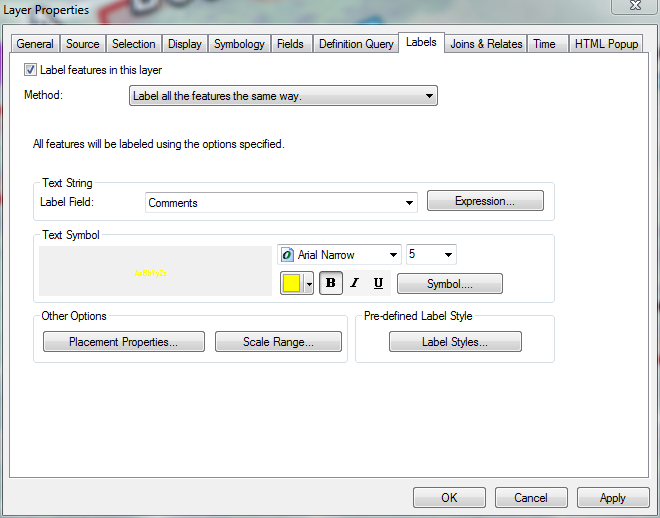
Now, I’ll add the label into the black placeholder area I created in my symbol. Go the Labels tab in the layer properties to add the label. Turn on labeling and style the label to match the symbol, in this case yellow. I’ve been using maplex and so should you, if you are on ArcMap 10.1 it’s available at all license levels and it’s a good tool to get your labeling almost where it needs to be.
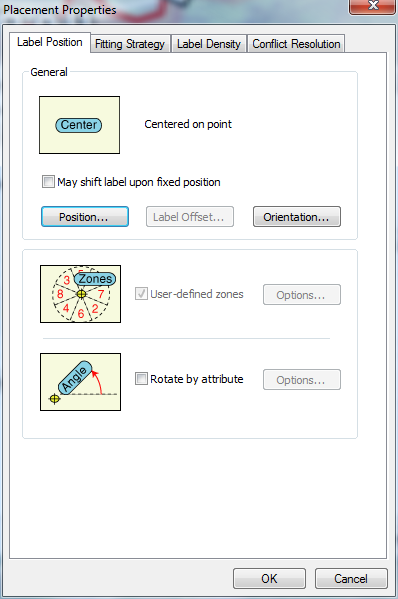
Now change the labeling properties to force the label onto the center of the point. In the Label Position tab, hit position and choose center. On the Conflict Resolution tab, check never remove.
You should see something like this, which we need to fix.
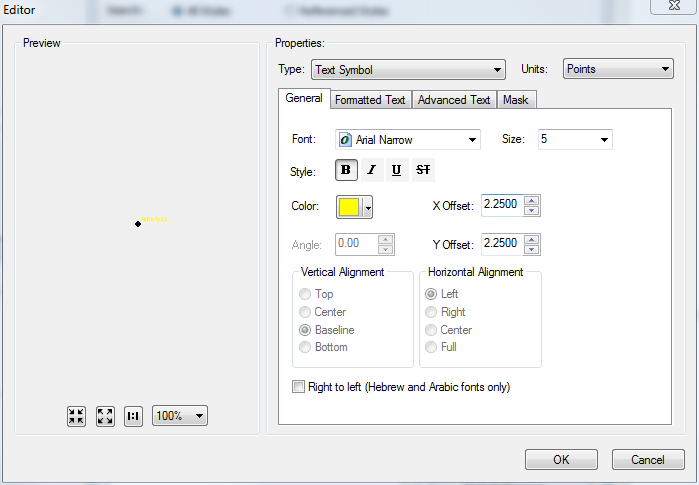
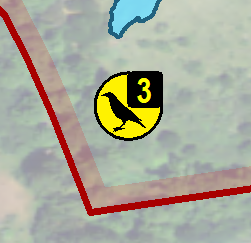
Notice the label is drawing at the center of the symbol as we told maplex. We need to force the label into the corner using an offset on the text symbol. In the Labels tab of the layer properties, hit Symbol then Edit Symbol. Now adjust the X and Y offset. This will take a little trial and error to get perfect but based on the symbol size, my offset is 2.25, both X and Y. Apply this symbol edit and check it out.
So there you go, I don’t use this technique too much but it comes in handy sometimes and people think it’s pretty cool.


