Trim a Full Bleed Map
As a follow up to the Full Bleed Maps with ArcMap article, I’ll show you how to actually trim that full bleed map you’ve created.
You’ll need this stuff:
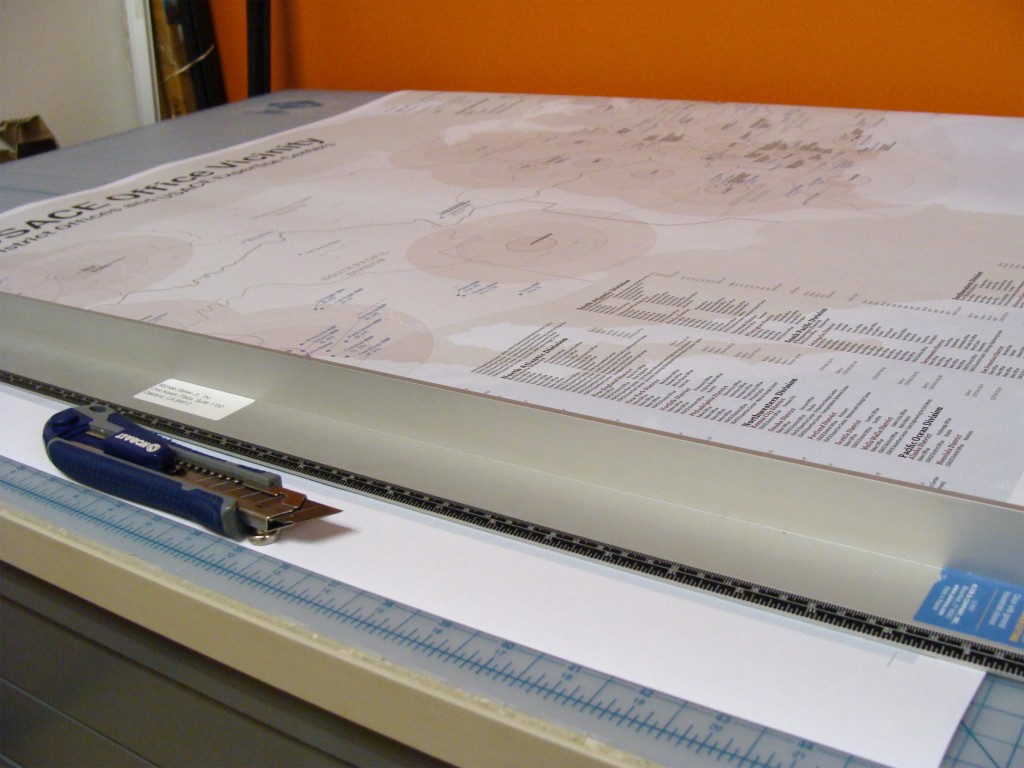
– A sharp razor blade
– A large cutting mat
– A trim guide or metal edged ruler
– A map with crop marks
In this example, I’ll show the same map I used in the Full Bleed Maps with ArcMap article. Here’s the map:
In order to trim the map properly, it’s best to use a guide long enough to span from crop mark to crop mark on the longest edge of the paper.
Place a guide from crop mark to crop mark so that the cut edge, the edge of the guide that the knife will rest against during the trim, is facing out toward the paper’s edge.
It is important to keep the trim edge of the guide away from the map art because if the knife leaves the edge of the guide during the trim, it will not cut the map. By using this technique, a bad trim won’t affect the map itself and can usually be corrected by restarting at the opposite end and cutting toward the mistake.
When trimming a map to full bleed with crop marks, never start or take a trim to the edge of the paper, this will cause you to lose your crop marks. If you cut from edge to edge you won’t be able to finish trimming the map properly.
Instead, start the knife on the crop mark and finish the trim on the opposite crop mark, short of the paper’s edge.
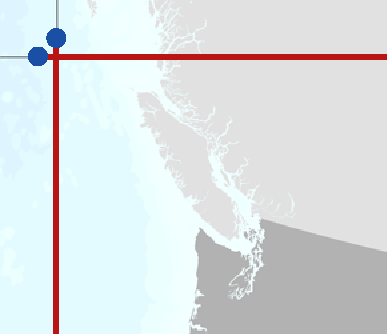
The red lines in this image represent the trim paths and the blue dots represent the points where the knife should start and end on each edge trim. The blue dots occur on the crop mark but not at the edge of the paper and not at the corner of the trimmed page boundary. A close up of trimming guides shows that a trim should start on the crop mark between the edge of the paper and the edge of the trim boundary:
When performing the trim, angle the knife slightly inward toward the guide. This should be a very subtle angle. This will make it much easier to follow the guide for a straight cut. This will also make it easier to avoid making a bad trim where the knife comes off the guide edge. With some practice, these kinds of trims can be done very quickly.
Always make sure to keep the hand you’re holding the guide with out of the blade’s path. It easy to focus on the actual trim and forget that your finger is in the way. Also, be careful with the knife even when not trimming. A fresh razor blade cuts through skin pretty easily and, from experience, can cut deep without sending much of a pain signal then bleeds a lot.
My preference is to trim the two short sides then the two remaining long sides. This sequence leaves more paper attached for the final trim and makes it a little easier to align the guides for the last trim.
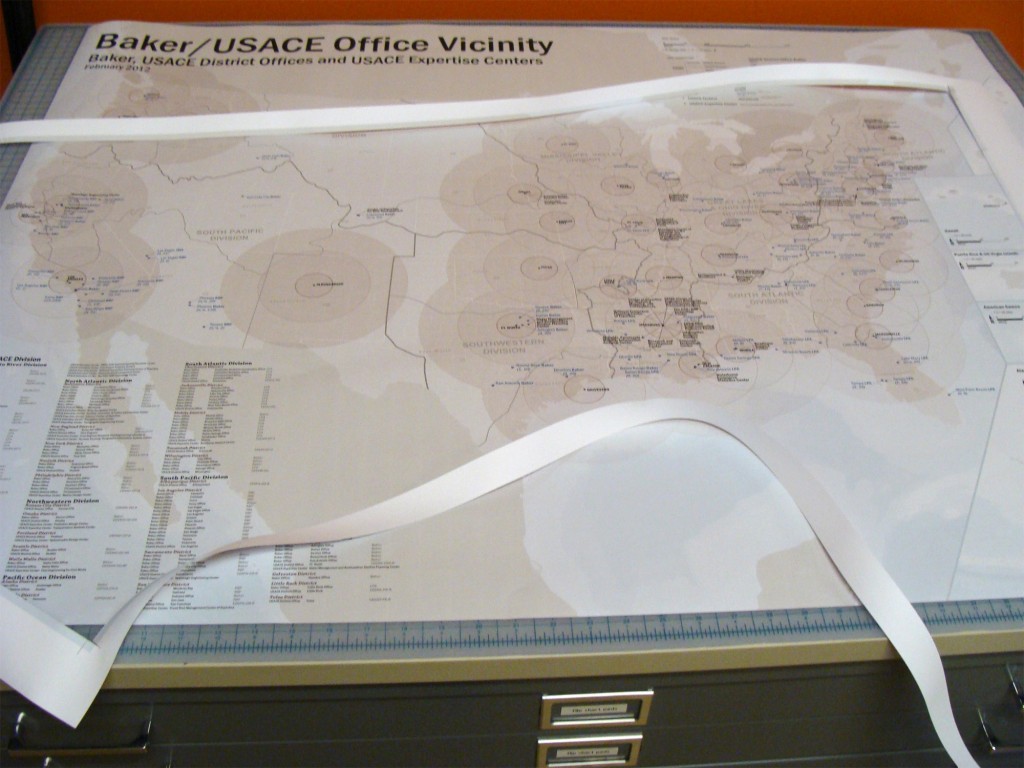
Here’s what the map and trimmed bleed area look like after the final trim. Notice the trimmed paper is intact at the corners!

